FINDING COMPONENTS
Will it just be intended for basic usage (such as web browsing, emailing, etc)? Or will it be used for high performance software and games?
This determines what grade of components will be used. The higher the grade of components, the higher the performance output will be.
When selecting components is important to ensure that they will be compatible together. It is particularly vital that the motherboard is compatible with everything that is to be connected to it.
The following is a list of the essential components required and links to where the components can be purchased from. Use this as a checklist. When you have ensured that all the components are ready, continue to the next section.
NOTE: This guide will not go into detail for the selection of the components, the main focus will be the actual construction.

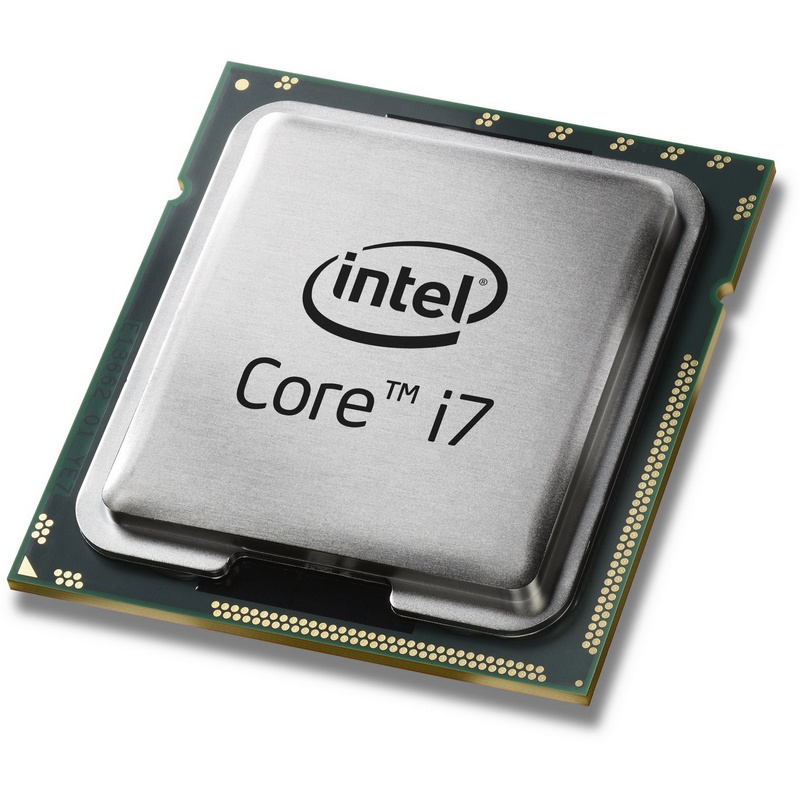
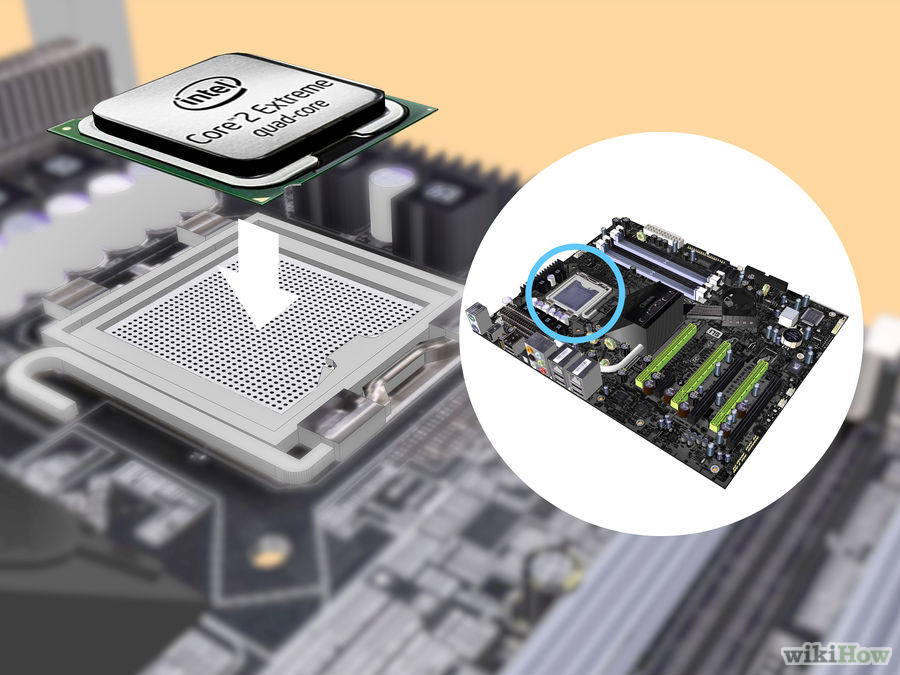
CPU
The central processing unit is the ‘brains’ of the computer. It is responsible for executing programs.
View Products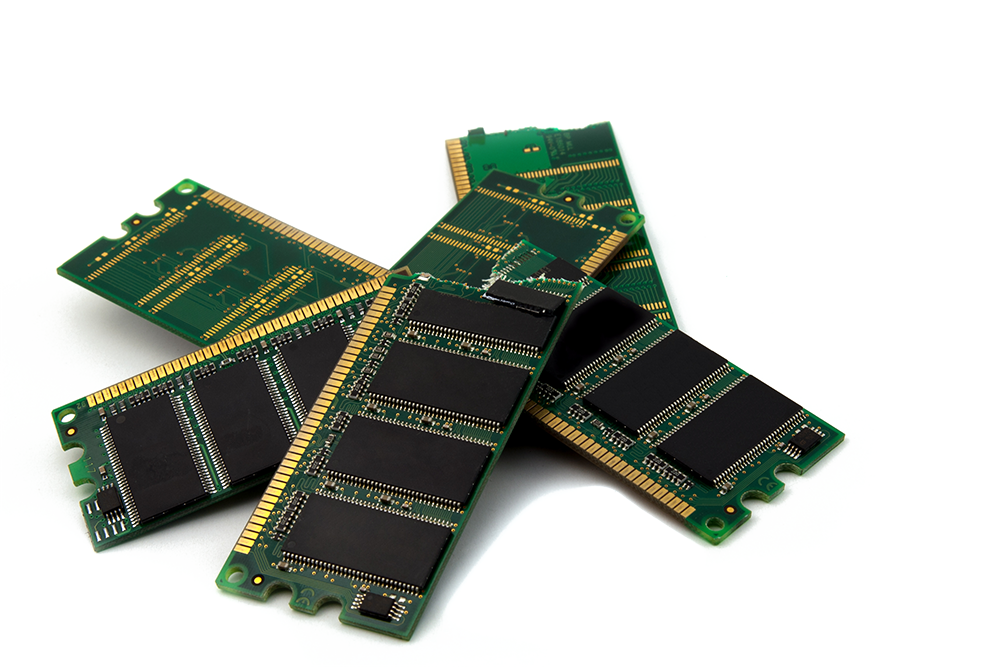
MEMORY / RAM
The temporary, quick access storage location when handling data and processes.
View Products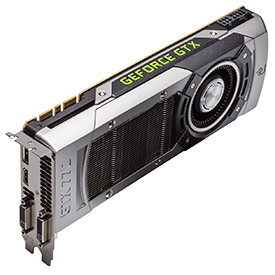
GRAPHICS CARD
Controls, processes and enhances how graphics are displayed on the screen.
View Products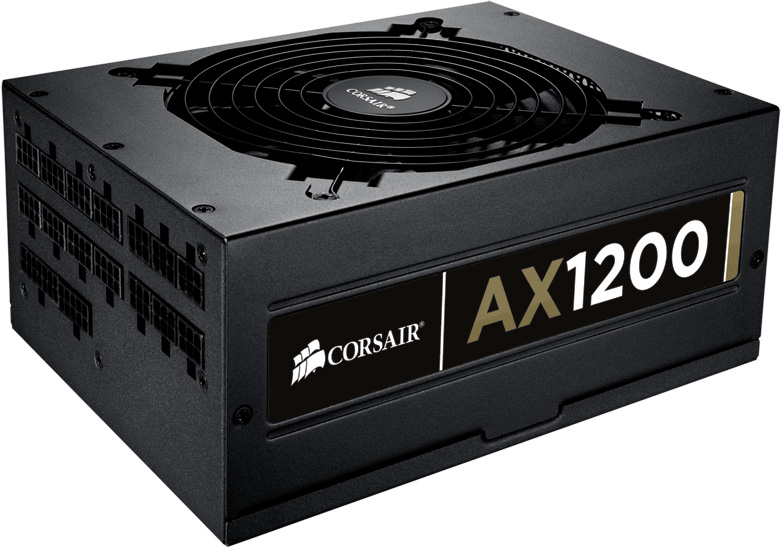
POWER SUPPLY
Converts mains AC power into low-voltage regulated DC power for the internal components of the computer.
View Products
STORAGE DRIVE
Location where all data is stored, such as documents, photos, videos, software and even the operating system.
View Products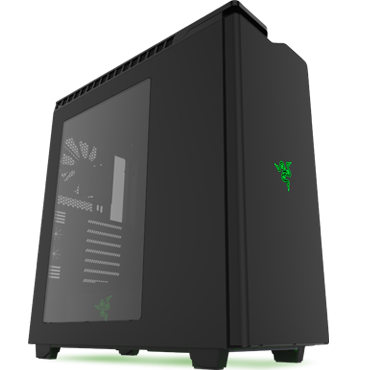
CASE / CHASSIS
The enclosure containing all of the components for the computer, excluding external peripherals.
View Products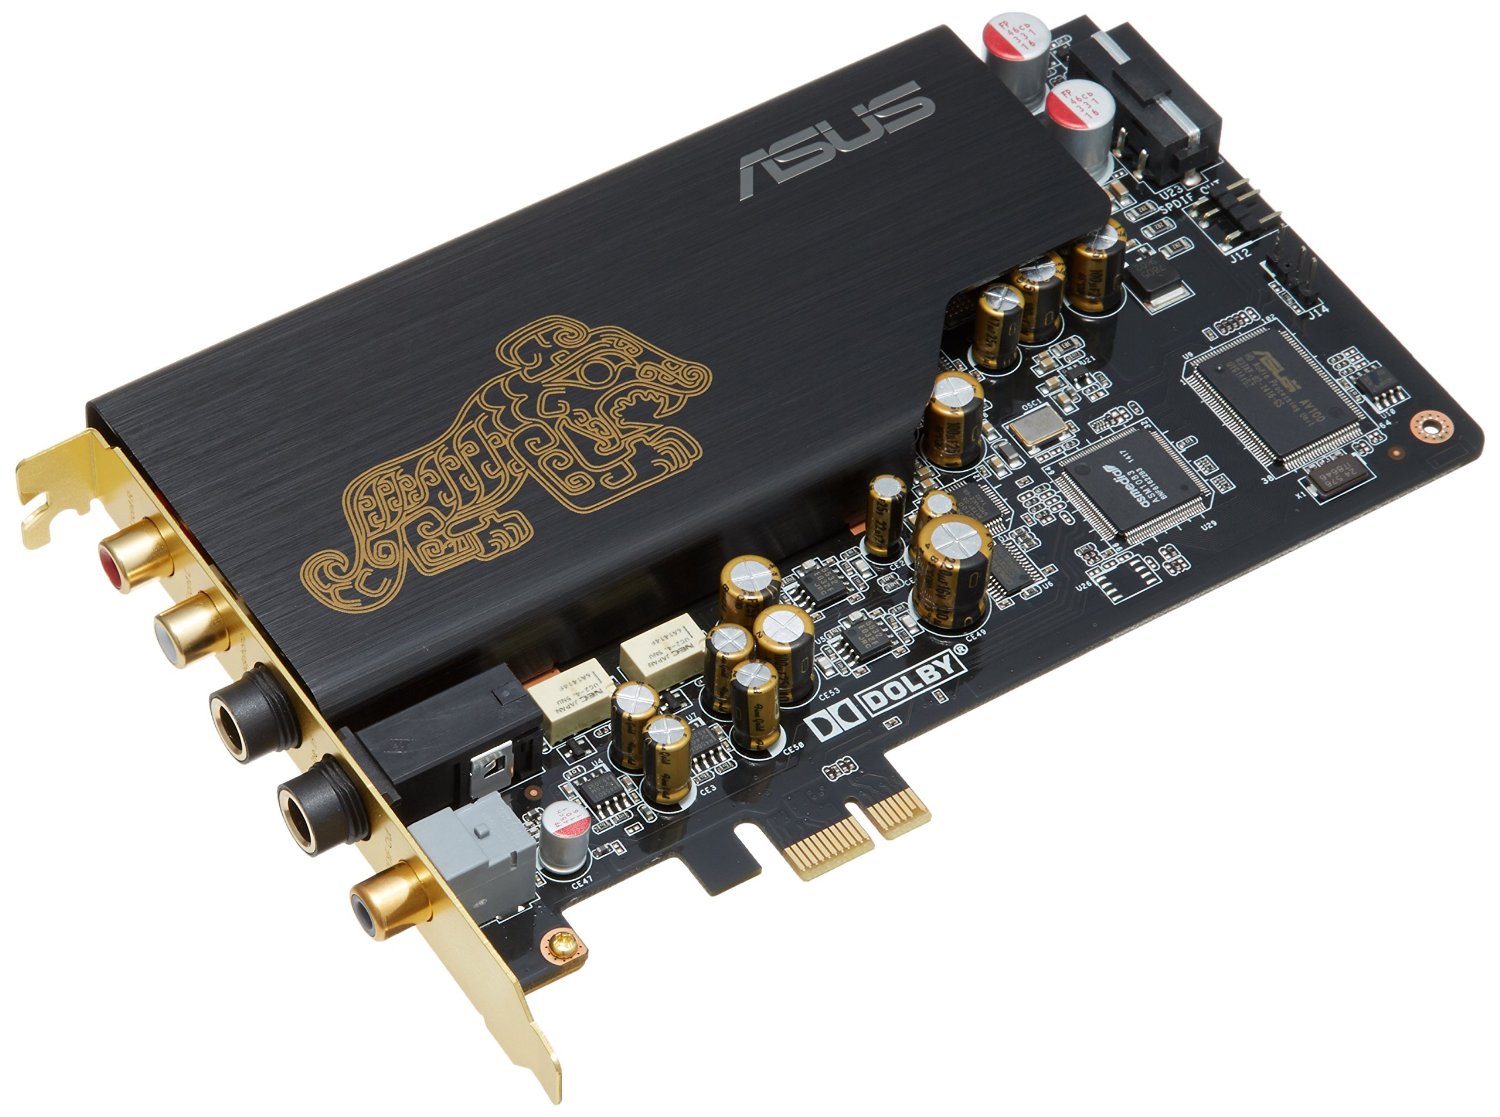
SoUND CARD
The sound card allows the computer to send audio information to an audio device like speakers or a pair of headphones.
View Products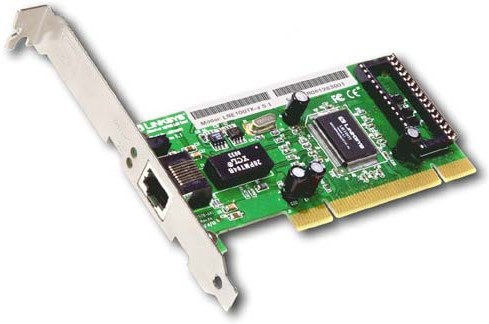
NETWORK CARD
A network card is the interface between a computer and a network cable. The network card prepares, sends, and controls data on the network.
View Products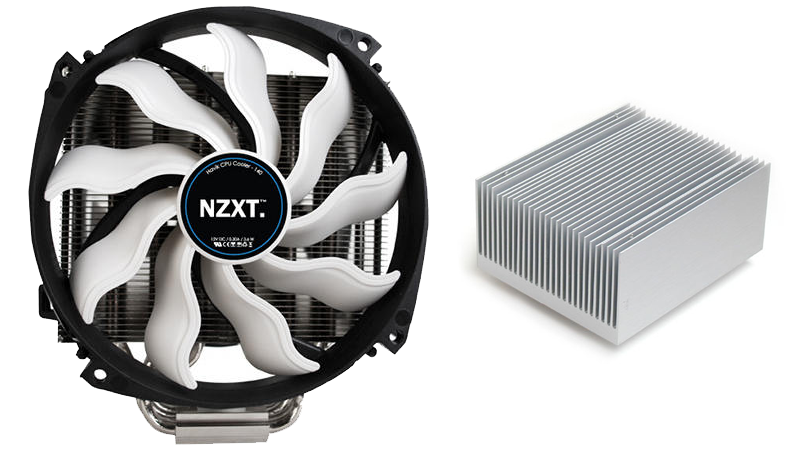
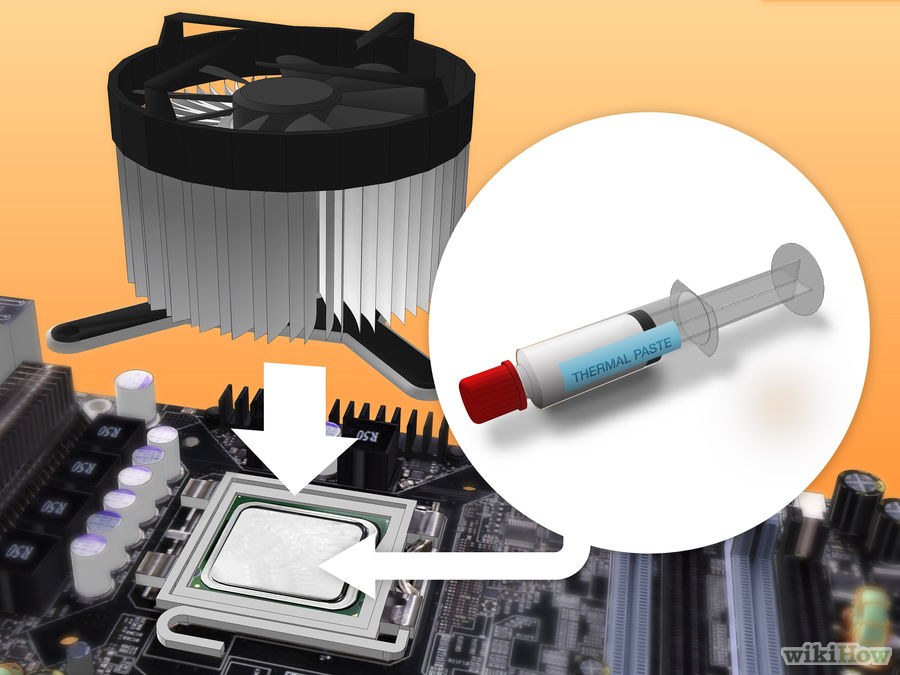
COOLING SYSTEM
The cooling system ensures that the computer does not overheat, which can be harmful to the components. This includes fans, liquid cooling and CPU heat sinks with thermal paste.
View Products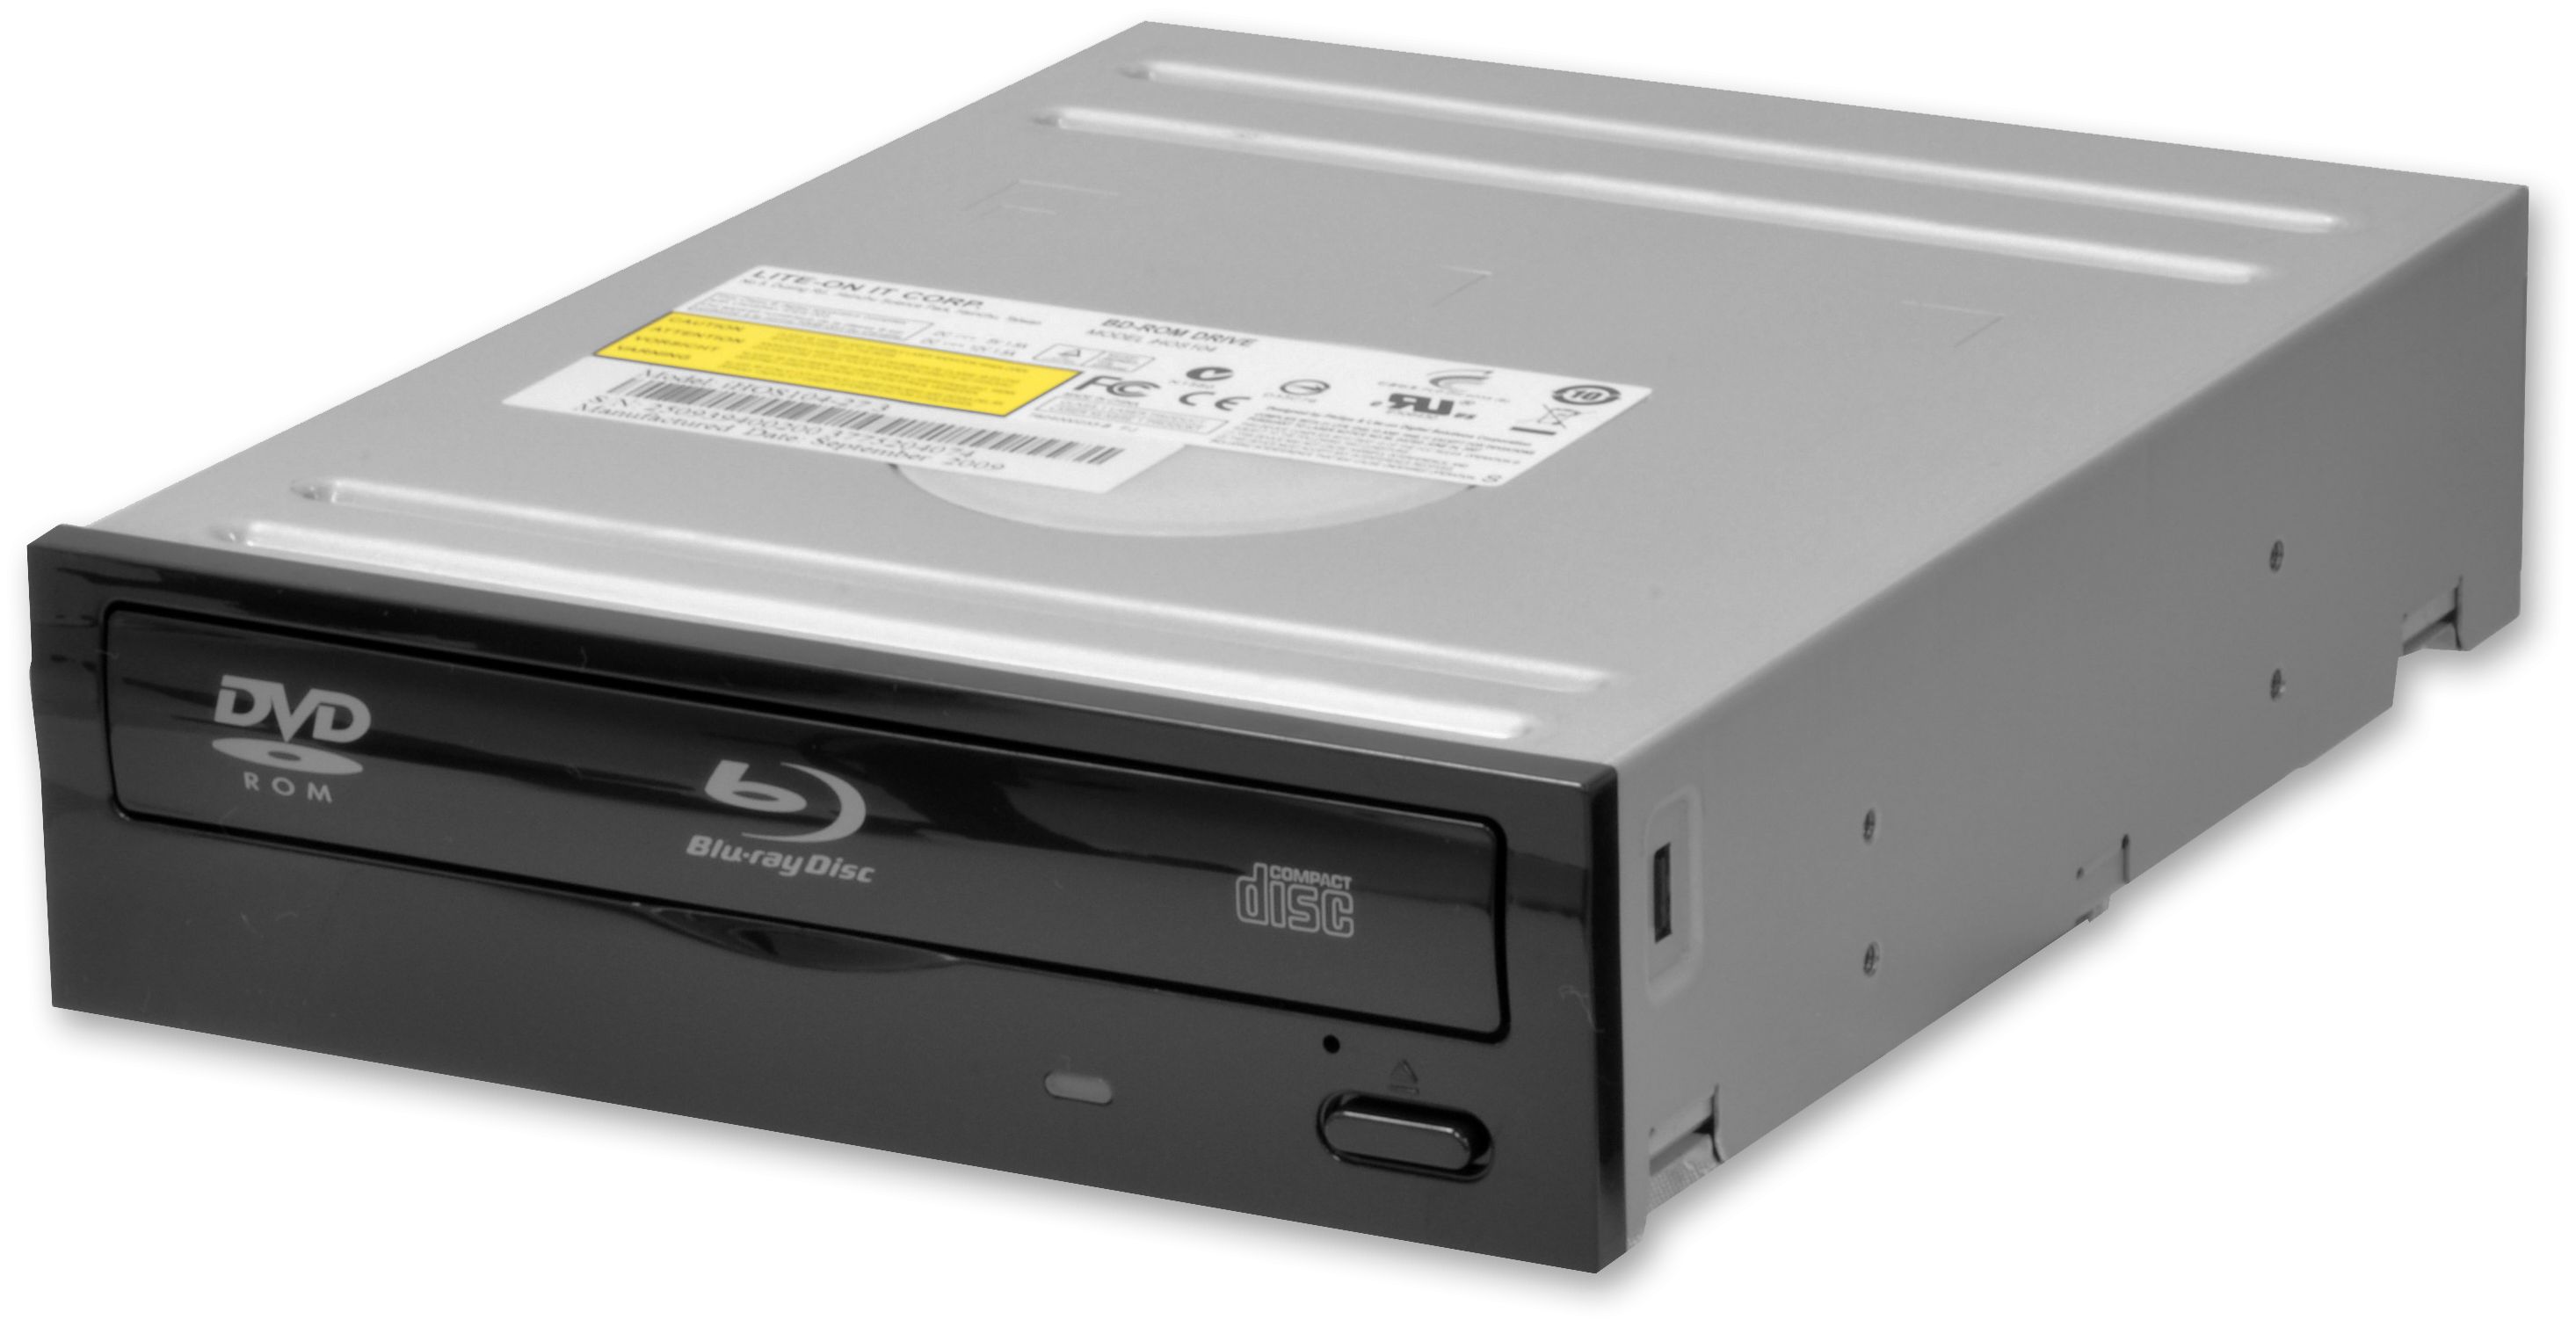
OPTICAL DRIVE
The optical drive, more commonly known as a disc drive, allows for optical discs (software, music CDs, etc.) to be read by the computer.
View Products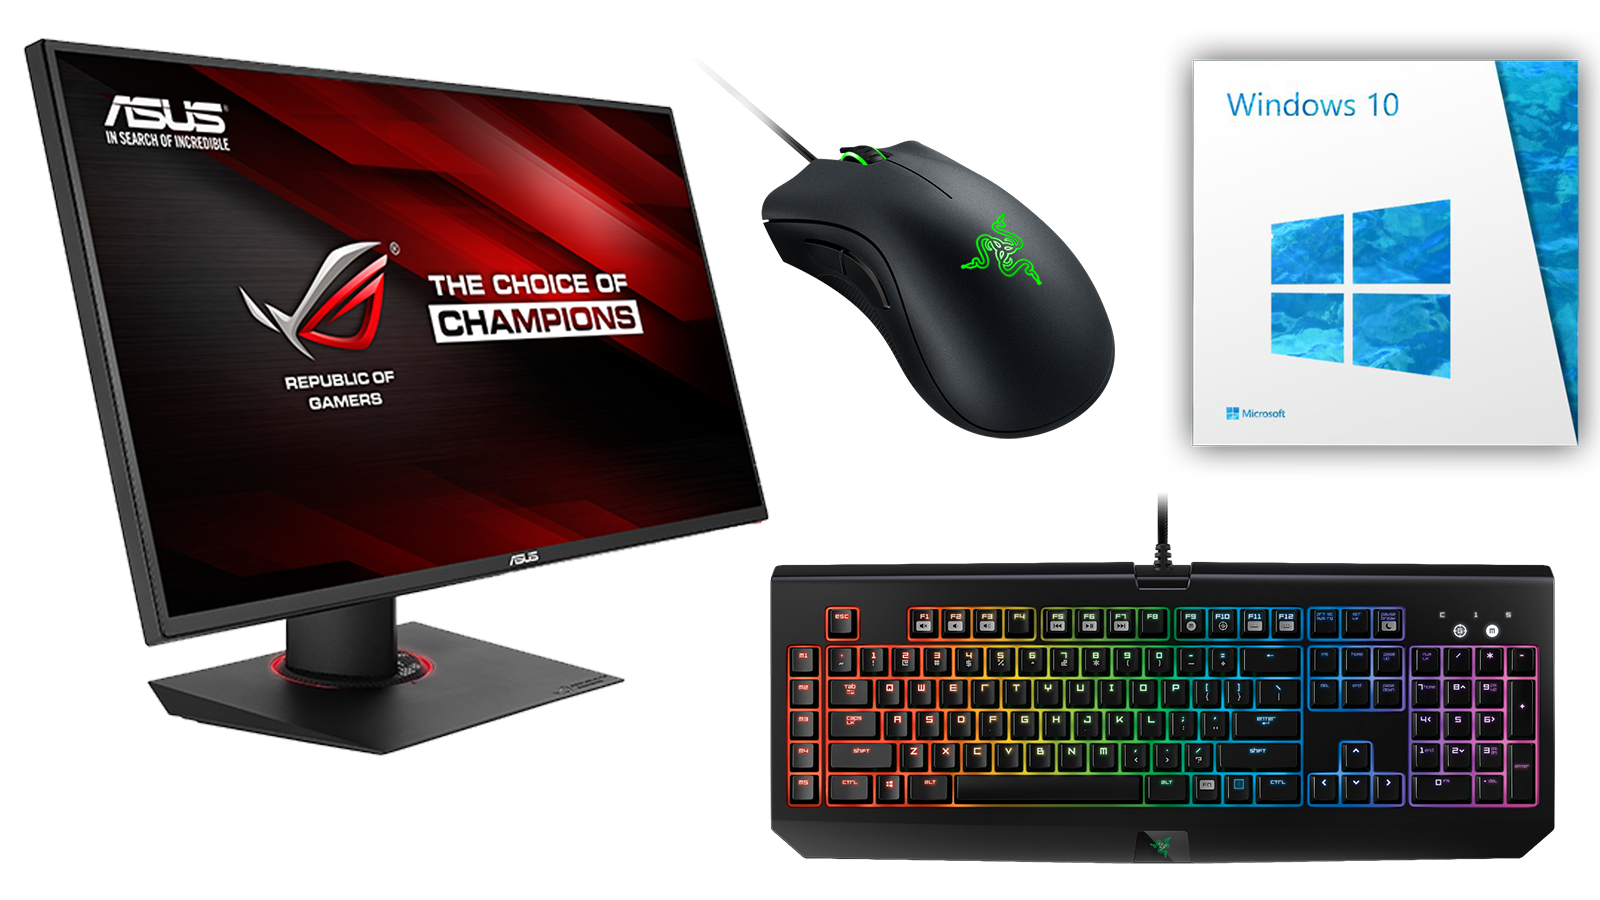
PERIPHERALS / ACCESSORIES
Peripherals are essential in order to use the computer. This includes a keyboard, mouse, monitor, speakers, the operating system, etc.
View ProductsMOUNTING THE CPU
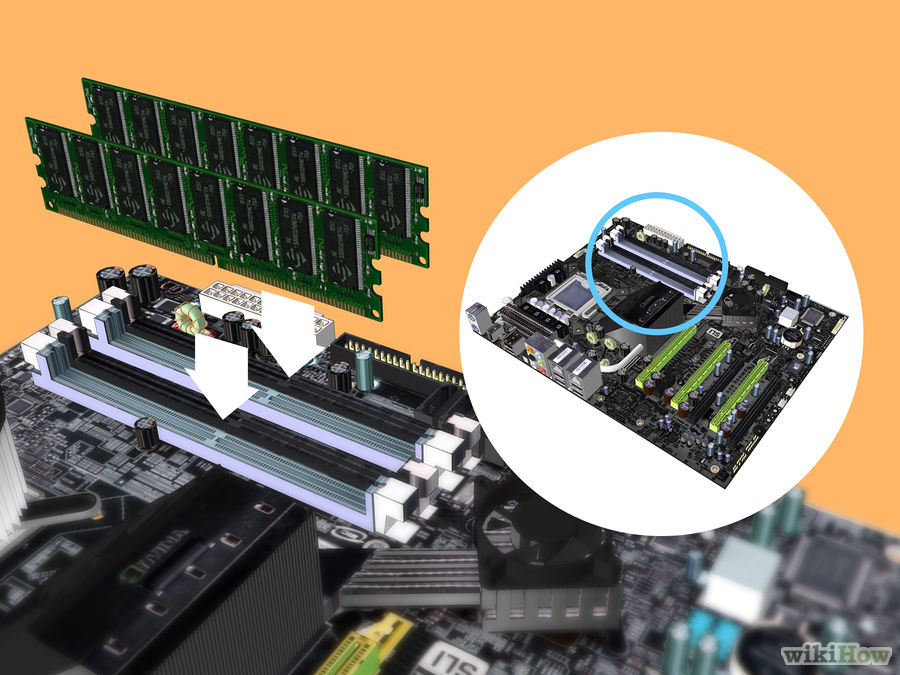
INSERTING THE RAM
NOTE: Make sure you don't get the RAM slots mixed up with PCI slots. The PCI slots are usually wider.
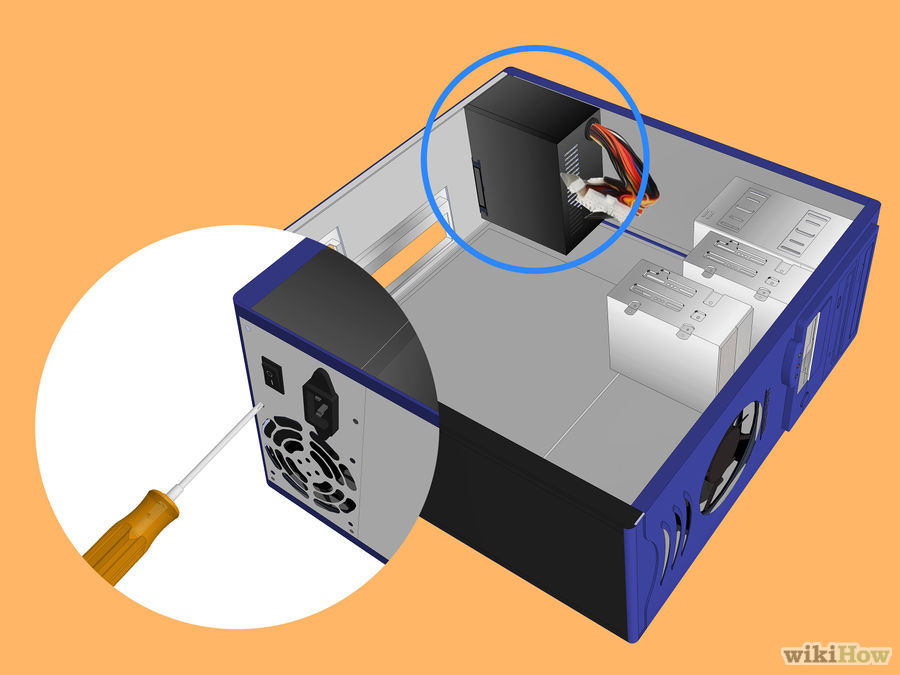
MOUNTING THE POWER SUPPLY
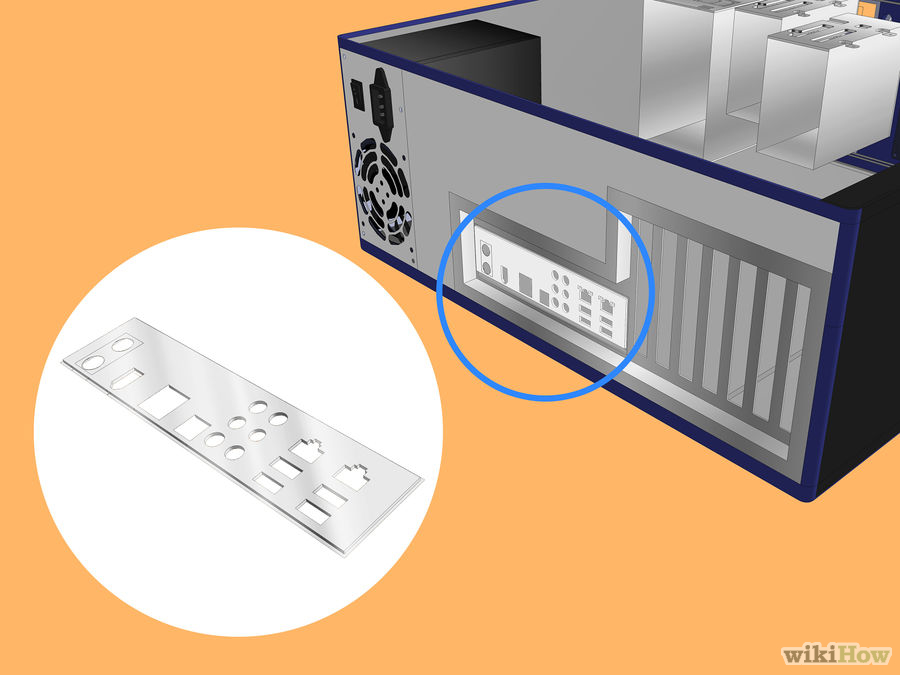
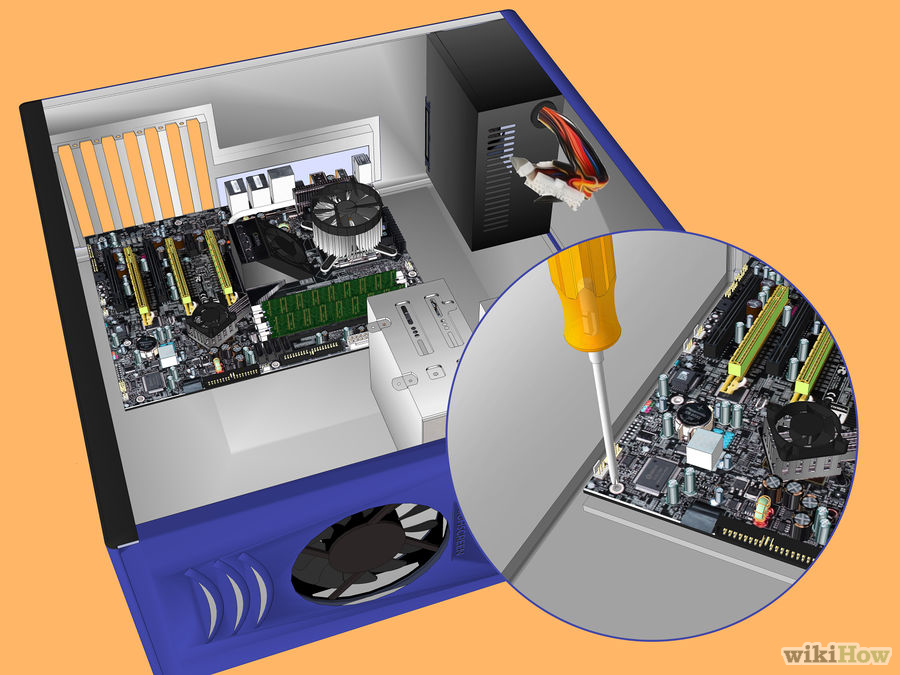
ATTACHING THE MOTHERBOARD
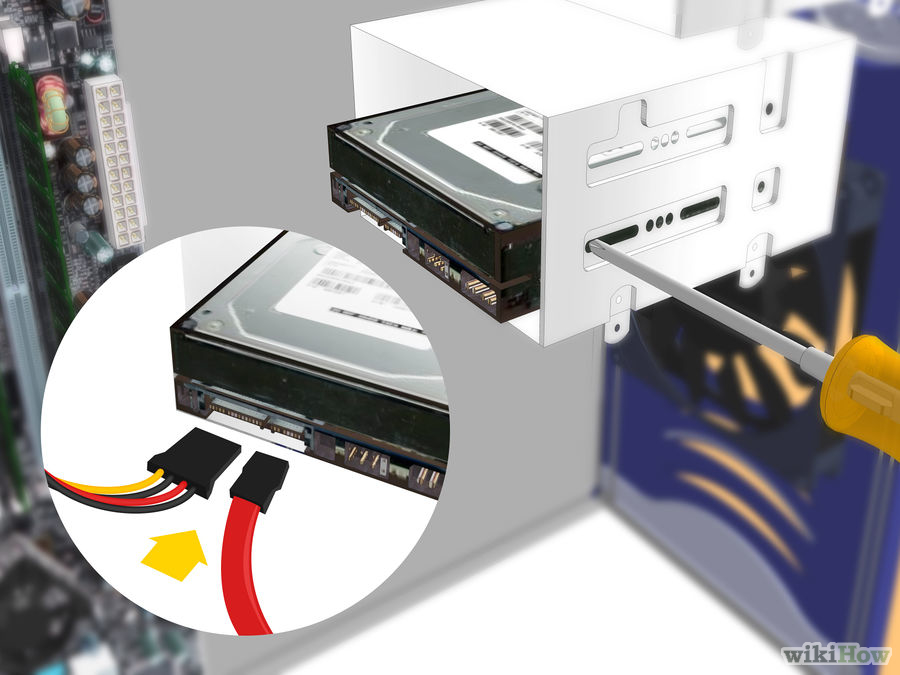
MOUNTING THE DRIVES
Generally only a single hard drive is used, though it is possible to utilise multiple storage drives. A common combination involves the use of a standard hard disk drive for mass storage of files, and a solid state drive used for storing programs and the operating system to deliver faster performance.
Mount the drive in the designated location in the case, securing it with screws.
Connect the drive to the power supply (using the cables already connected to the supply).
Connect the SATA cable into the in the drive. This will be used to connect to the motherboard to the drive, explained further in the next stage.
CONNECTING THE CABLES
Connect the the USB connectors, case switches and case LED cables to the motherboard.
The motherboard's instructions should tell where to connect each of the cables.
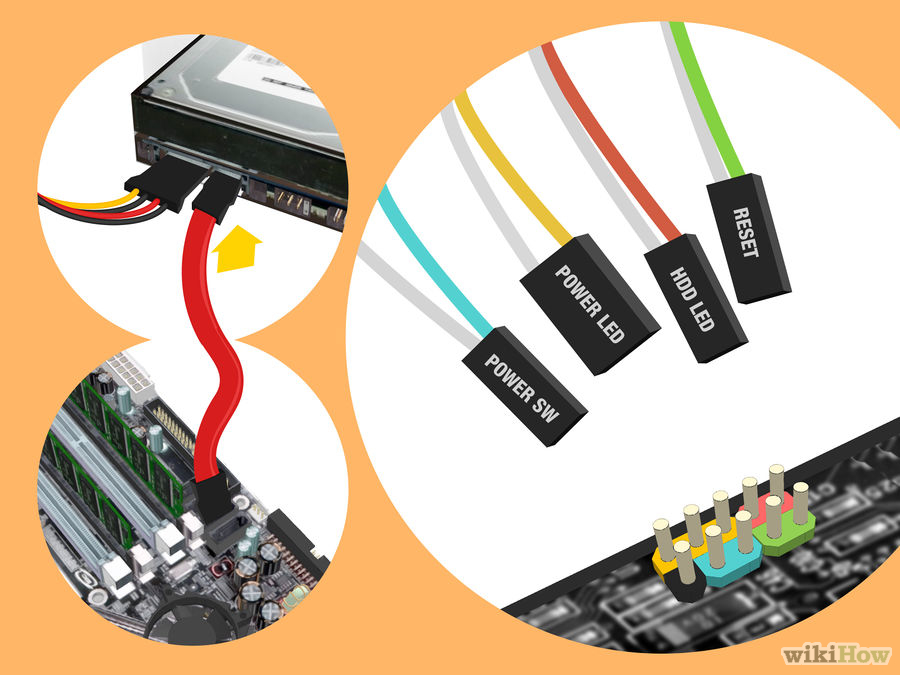
Both of these cables are connections between the power supply and the motherboard.

INSERTING THE OPTICAL DRIVE
Connect the ATA cable to the optical drive and plug the other end into the motherboard.
Connect the power supply to the optical drive.
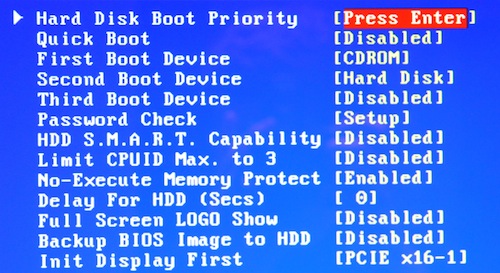
CONFIGURING THE BIOS
Once checked, connect the computer to a mains power supply and connect all of the external peripherals (keyboard, mouse and monitor are the essentials).
The computer can now be turned on. In order to utilise it properly, it will need the operating system installed. This is the software system that makes use of all the components and provides the graphical user interface.
To install the operating system, the BIOS must first be configured correctly. The BIOS is the basic system built into the motherboard which loads the hardware and allows for configuration of basic functions and settings hardware related. The configuration for each motherboard's BIOS will be different for each motherboard, there should be included instructions with the motherboard, but the process should be similar to what is explained in this guide.
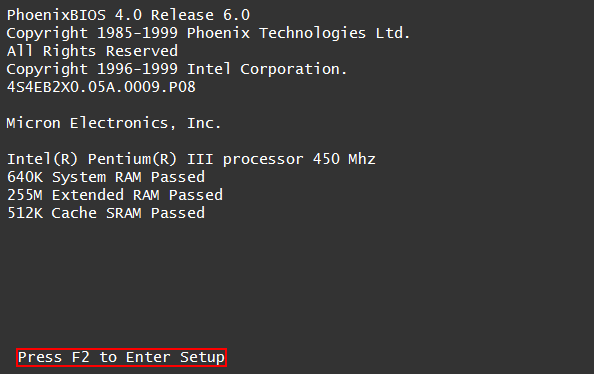
Upon startup, there will be an indication to press any key for setup. Pressing this should allow for entry into the BIOS.
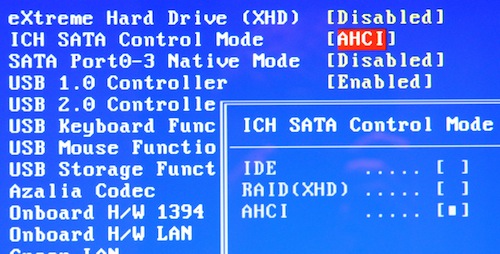
Find the SATA configuration option, and make sure its configured as AHCI.
INSTALLING THE OPERATING SYSTEM
It is recommended to install the latest version of the operating system. This can be obtained through purchasing a retail disk copy of the operating system in a store. Included is the required installation media disk and a personal product key.
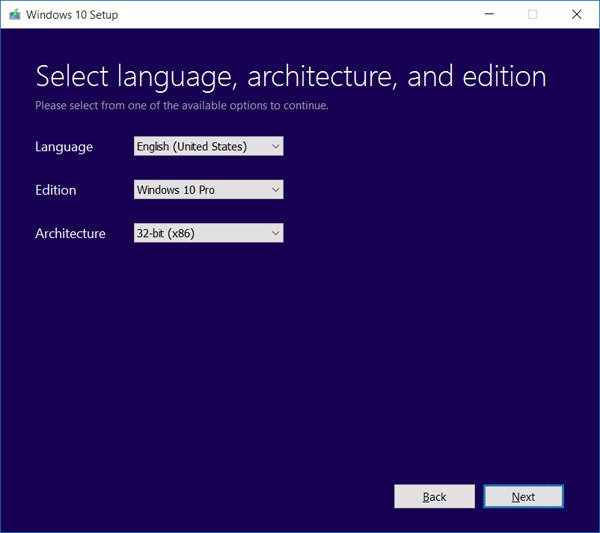
NOTE: There are two architecture types for Windows, 64-bit and 32-bit. If you have more than 4GB of RAM, it is best to use 64-bit Windows instead of the standard 32-bit. This allows the operating system to take advantage of all of the available RAM. However the version of Windows that can be used also depends on whether the CPU is capable of running the selected version.
Start up the computer and it should automatically boot into the Windows installer. Follow the onscreen instructions until the installation is finished successfully.
Congratulations! The computer should now be in a fully functional state and the process of building your own desktop computer is complete.
ANY QUESTIONS?
feel free to fill in the form with any additional questions you have.
You should receive a response within 2 – 3 days.